

Create a subdomain
Add a subdomain such as blog.example.com in cPanel, and choose whether it serves its own directory or shares your main site.
Add a subdomain like blog.example.com or staging.example.com. Applies to
shared, reseller and Premium hosting.
Create it
-
In cPanel, open Domains under Domains.
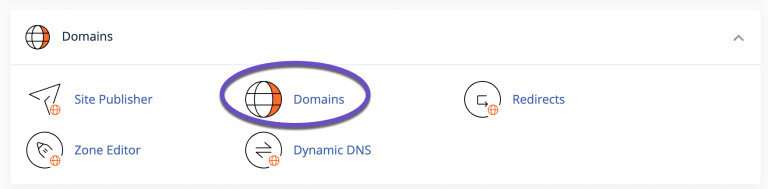
-
Select Create A New Domain.
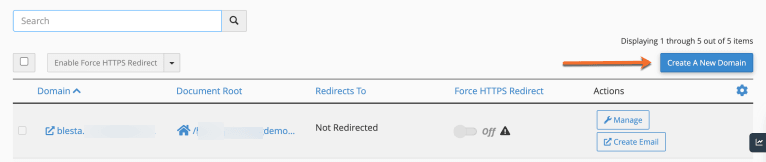
-
Enter the full subdomain in Domain, for example
blog.example.com. -
Untick Share document root with example.com.
-
Set the directory the subdomain should serve from —
blogis created for you under your home directory by default. -
Select Submit.
Step 4 is the one that matters. Leaving it ticked points the subdomain at your
main site, so blog.example.com and example.com serve identical content
from the same files. That is occasionally what you want; usually it is not,
and it is confusing to unpick later.
Check it worked
curl -sI https://blog.example.com | head -n 1A 200 or a 403 (empty directory) means DNS and the web server are both
working. Could not resolve host means DNS has not propagated yet — allow a few
minutes.
Your subdomain is covered by AutoSSL automatically, though the certificate can take a few minutes to issue. See Install a free SSL certificate.
Manage or remove one
All subdomains are listed under cPanel → Domains, where you can change the document root or remove them.
Removing a subdomain does not delete its files — they stay in the directory, and you should remove them separately if you no longer want them.
Related
Can I run Magento on shared hosting?
Magento will install on shared and reseller hosting but is not recommended. What it needs, and which WebGee plans are suitable.
Files WebGee automatically removes
WebGee periodically deletes backups, archives and old junk mail from hosting accounts to reclaim disk space. What is removed, and how to keep what matters.