

شهادات SSL
يحصل كل موقع في ووردبريس كلاود على شهادة Let's Encrypt مجانية. كيف تفرض HTTPS، وكيف تثبّت شهادة اشتريتها من جهة أخرى.
يُصدر ووردبريس كلاود شهادة Let's Encrypt مجانية عند تجهيز الموقع ويجدّدها تلقائيًا. ينطبق على جميع باقات ووردبريس كلاود.
افتح موقعًا واختر الأمان.
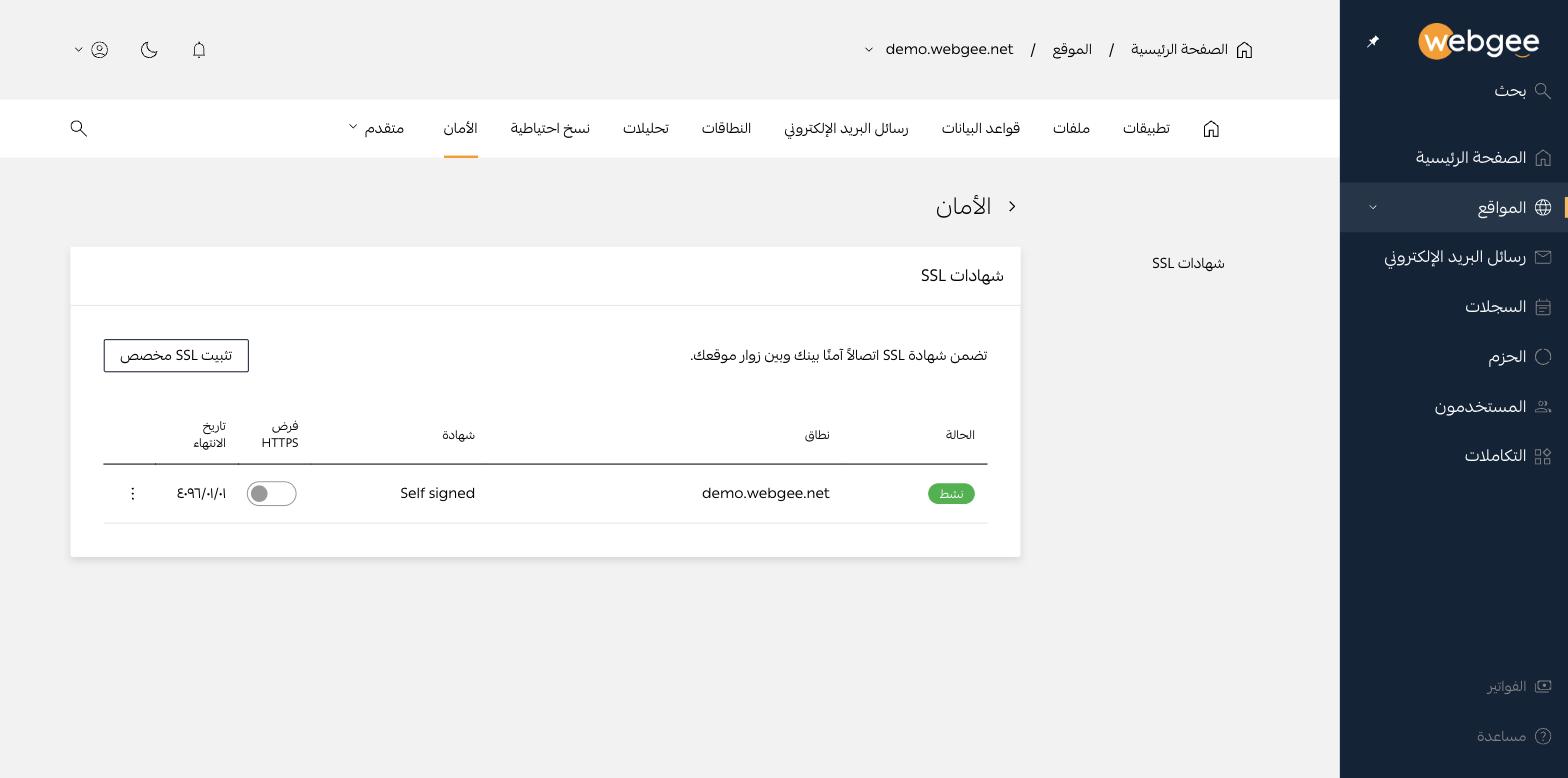
يعرض كل صف حالة الشهادة والنطاق الذي تغطيه والجهة المُصدِرة ومفتاح فرض HTTPS وتاريخ الانتهاء.
إن كان النطاق لا يشير بعد إلى خوادم أسماء WebGee فلن تستطيع Let's Encrypt التحقّق منه، وتظل الشهادة موقّعة ذاتيًا (Self signed) — وهي تُظهر تحذيرًا أمنيًا لكل زائر. وجّه خوادم الأسماء أولًا وستُصدر الشهادة الموثوقة تلقائيًا.
فرض HTTPS
المفتاح معطّل افتراضيًا. ومع تعطيله يستجيب الموقع على http:// وhttps://
معًا، وهو ما يقسم زياراتك بين رابطين ويترك الزائر على ما وصل إليه.
فعّله ليُحوَّل كل طلب إلى https://.
بعد تفعيل فرض HTTPS تحقّق من أن ووردبريس متفق معه. فإن كان رابط الموقع في
تطبيقات ← مجموعة الأدوات ← عام ما زال يبدأ بـ http:// فقد يتصارع
تحويل الخادم مع تحويل ووردبريس وتنتج حلقة تحويل. اضبط الاثنين على https://.
المحتوى المختلط
لا يظهر القفل إلا إذا حُمّل كل عنصر في الصفحة عبر https://. والموقع المنقول من
http:// تحمل قاعدة بياناته عادةً روابط صور مطلقة بـ http://.
عالجها من المصدر لا بإضافة: نفّذ بحثًا واستبدالًا في قاعدة البيانات من
http://example.com إلى https://example.com.
تثبيت شهادة اشتريتها
اضغط تثبيت SSL مخصص وقدّم الشهادة ومفتاحها الخاص وأي سلسلة وسيطة.
استخدم هذا فقط حين تحتاج ما لا توفّره Let's Encrypt — شهادة تحقّق موسّع، أو شهادة تفرضها مؤسستك. الشهادات المخصصة لا تتجدّد تلقائيًا، وأنت المسؤول عن استبدالها قبل تاريخ الانتهاء المعروض في الجدول.
تحقّق
- يُفتح النطاق عبر
https://دون تحذير من المتصفح. - مع تفعيل فرض HTTPS، إدخال العنوان بـ
http://ينقلك إلىhttps://. - تاريخ الانتهاء في الجدول بعد نحو 90 يومًا لشهادات Let's Encrypt.