

Install WordPress with Softaculous
Install WordPress in a few minutes from cPanel using Softaculous, with the settings that matter for security and a working SSL certificate.
Install a new WordPress site from cPanel. Applies to shared, reseller and Premium hosting.
Softaculous handles the database, the files and the admin account in one step. Installing by hand is only necessary in unusual cases — see Install WordPress manually.
Before you begin
Point your domain at your WebGee account first. Installing against a domain that does not yet resolve here gives you a site you cannot reach, and an SSL certificate that cannot be issued.
Install
-
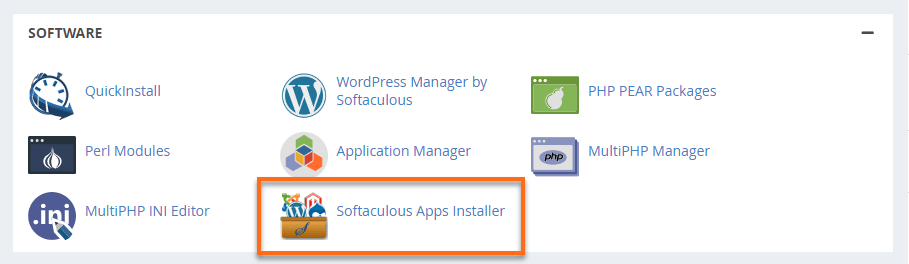
In cPanel, open Softaculous Apps Installer under Software.
-
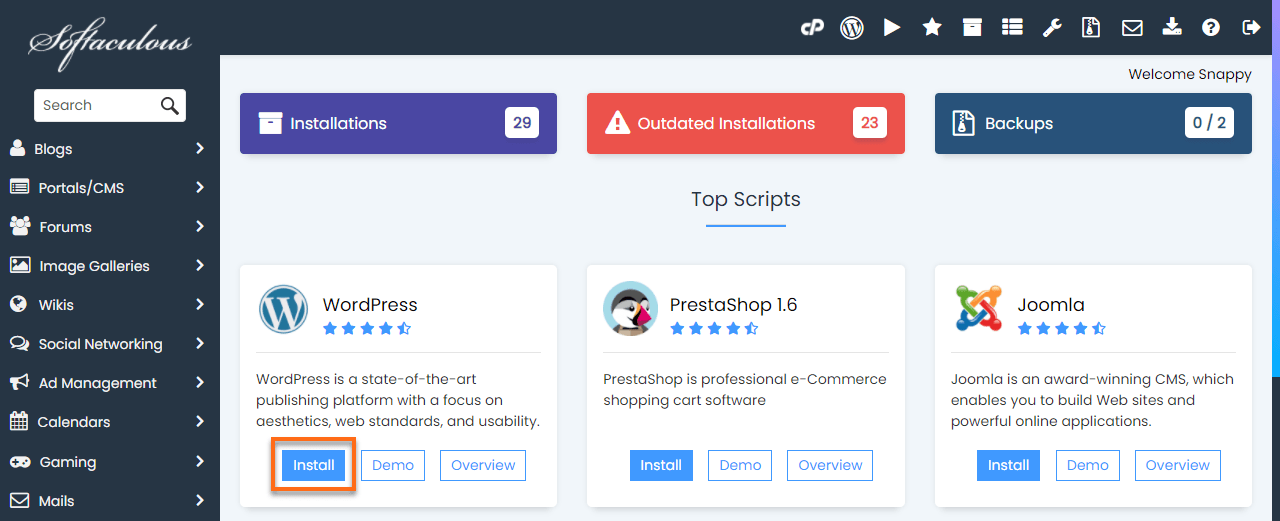
Find WordPress and select Install.
-
Set the installation URL.
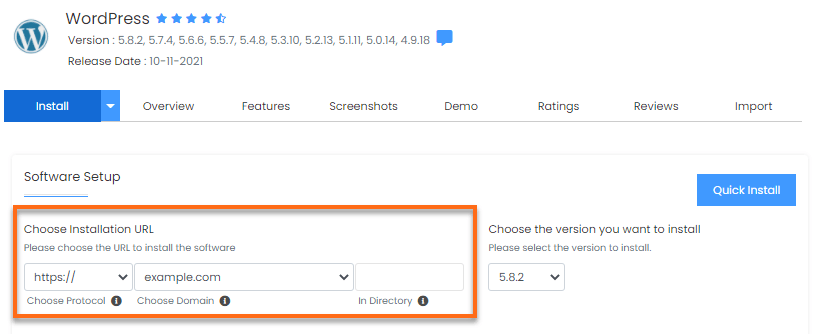
Field What to use Choose Protocol https://— leave it as the defaultChoose Domain The domain to install on In Directory Leave blank for the main site. Only fill this in for a subdirectory such as /blogIn Directory is pre-filled with
wpon some versions of Softaculous. If you leave that in place your site ends up atexample.com/wprather thanexample.com. Clear it unless you want a subdirectory. -
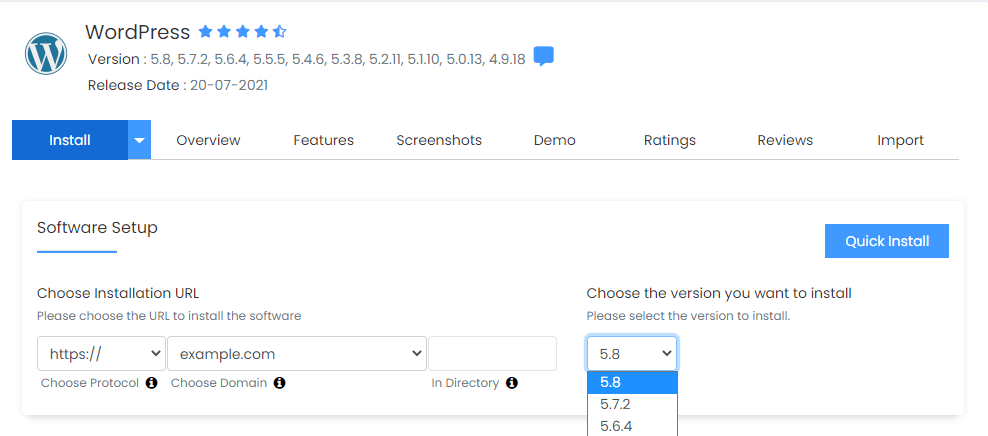
Choose the WordPress version. Take the most recent — it is the most secure and has the widest theme and plugin compatibility.
-
Enter a Site Name and Site Description. Both can be changed later.
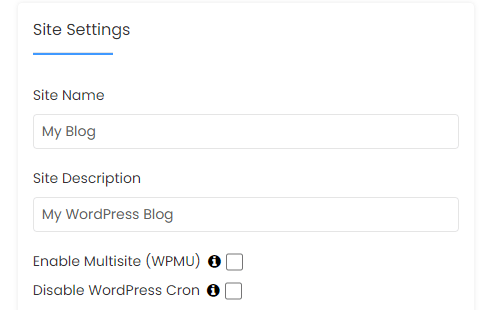
-
Complete the Admin Account section.
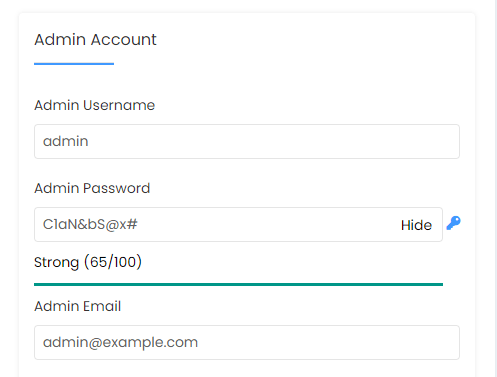
Do not use
adminas the username. It is the default on every WordPress installation, so automated attacks try it first and only need to guess the password. Choose something else, and use the key icon to generate a strong password. -
Select Install.
Check it worked
Visit https://example.com — the new site should load over HTTPS with no
browser warning. Sign in at https://example.com/wp-admin with the admin
account you created.
If HTTPS shows a warning, the certificate has not been issued yet. See Install a free SSL certificate.
Next steps
- Force HTTPS so visitors cannot reach the site over plain HTTP — Force HTTPS on your site.
- Turn on caching. LiteSpeed Cache is installed by default on WebGee and makes the largest single difference to page speed — see Install and enable LiteSpeed Cache.
- Set up object caching for a faster admin area — Enable Redis object caching.