

Restore specific files or folders
Restore your home directory, a single folder or individual files from JetBackup without touching the rest of the account.
Restore part of your account rather than all of it. Applies to shared and reseller hosting.
This is almost always what you want. A full restore rolls back email accounts and cPanel settings too, which is rarely the intention when you are recovering one deleted folder — see Restore from a backup for the full-account route.
Restore
-
In cPanel, open JetBackup 5.

-
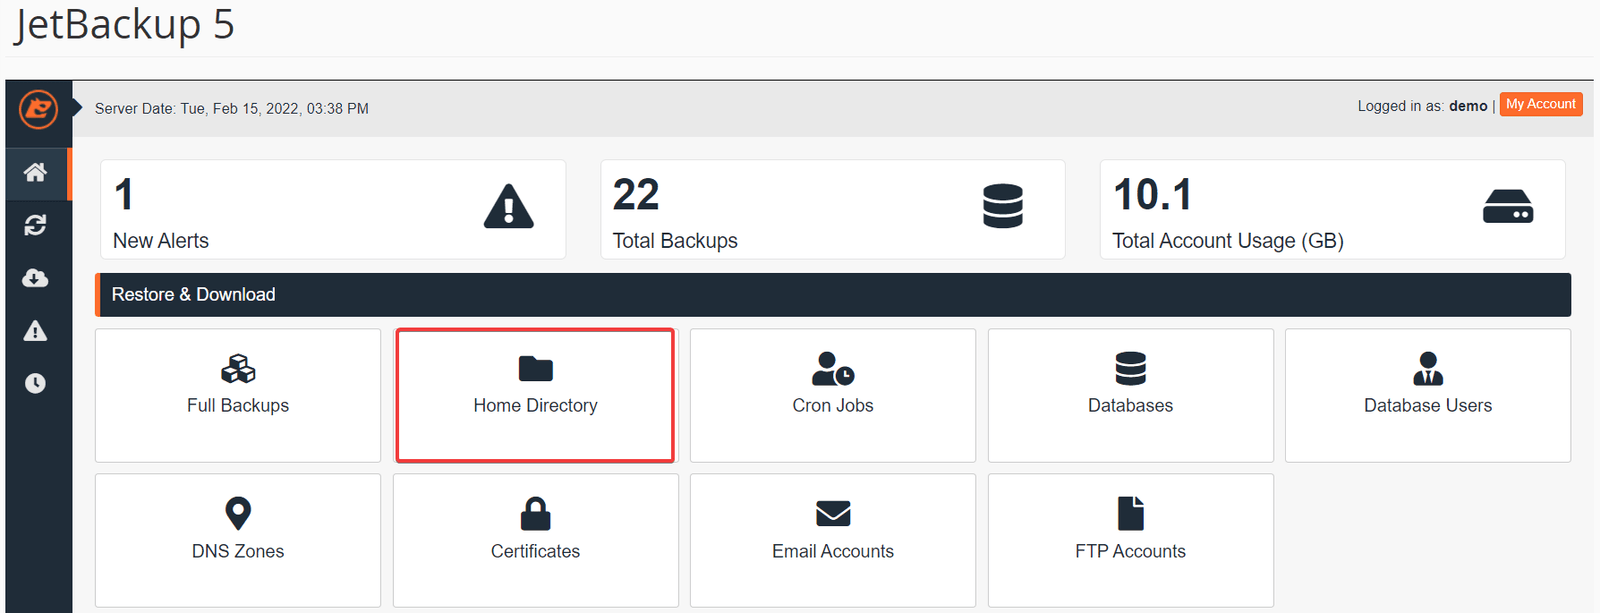
Under Restore & Download, select Home Directory.
-
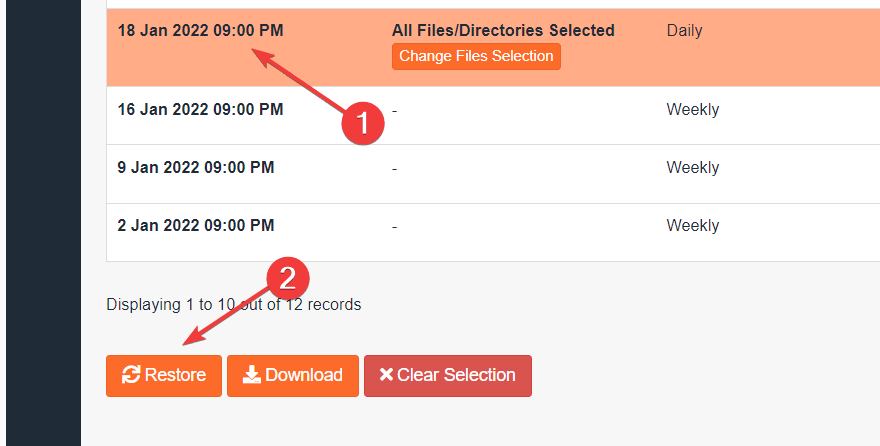
Choose the backup date you want, then select Restore.
-
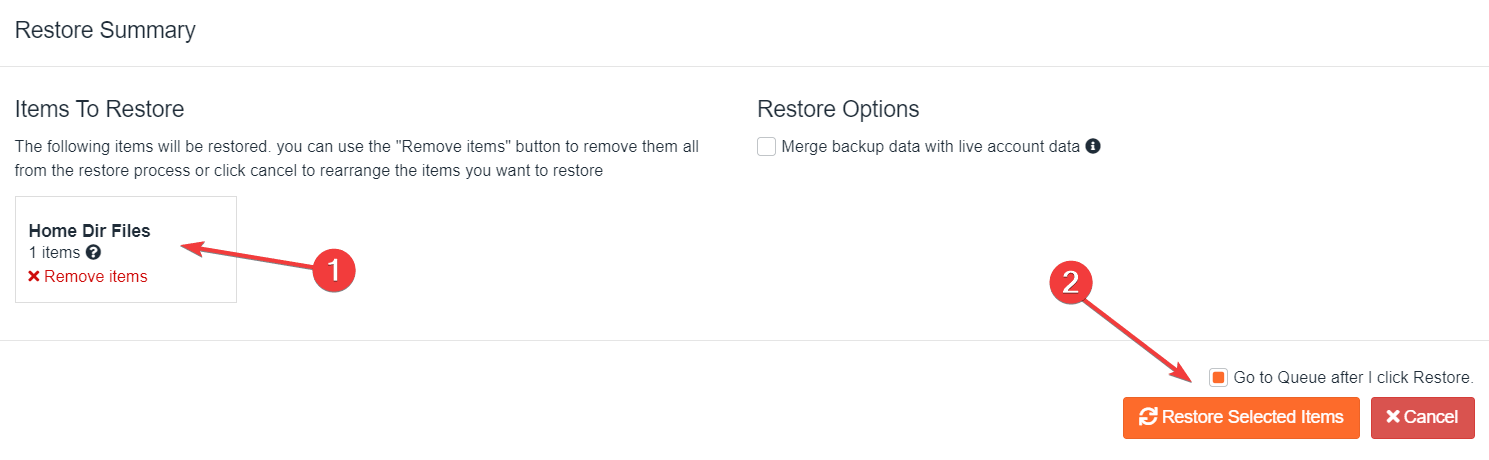
On the Restore Summary, confirm the items listed under Items To Restore, then select Restore Selected Items.
-
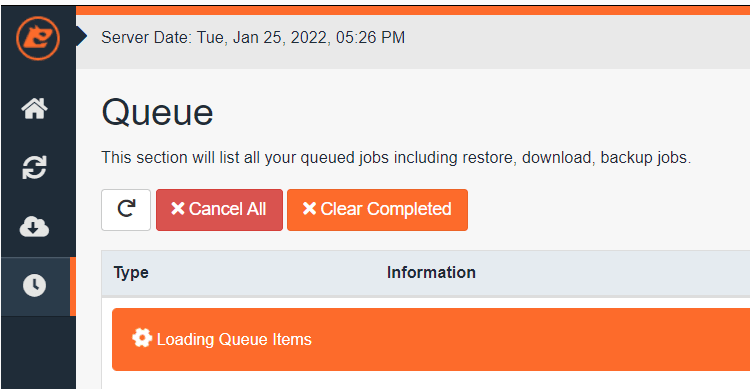
You are taken to the Queue page, where the job shows as in progress.
Restoring the whole home directory overwrites current files with the backup's versions. Anything changed since that date is lost. To recover one file, browse into the backup and select just that file rather than restoring the directory.
Download instead of restoring
The same screen offers Download. That gives you the files as an archive without changing anything on the account — useful when you want to compare versions, or take a copy before overwriting.
This is the safer option when you are not certain the backup contains what you expect.
Check it worked
Wait for the queue to report complete, then check the restored files in File Manager.
A restored WordPress site may still serve cached pages — clear your caching plugin, or hard-refresh.
Related
What is excluded from daily backups
JetBackup skips archives, media, logs and backup files created by plugins. What that means for what you can actually restore.
Why File and Directory Restoration is empty
cPanel's built-in file restore tool is disabled on WebGee servers. What to use instead to recover a single file.